Making a sign yourself takes four steps: pick your size, material and mounting spot, create artwork, cut or print it, then mount it. A basic indoor sign runs $20 to $80 in materials if you already own basic tools, and you can finish one in an afternoon. A lit, outdoor, or multi-location sign is a different project, and knowing where that line sits is most of what this guide covers.
If you’re a single small business making one sign for your own door, keep reading start to finish. If you’re a sign shop or a chain’s marketing team deciding whether to build in-house or send work out, jump to the quantity table below, then to the cost breakdown in Step 3 and Section 6, since that’s where the real decision gets made.
Which route fits your project?
| Quantity | Recommended Route | Why |
|---|---|---|
| 1 sign | Make it yourself | Tooling cost isn’t worth it for a single piece, and basic tools handle most flat, non-illuminated signs fine |
| 2-10 signs | A local print or sign shop for cutting, DIY for design and mounting | You get clean edges and vinyl application without buying a vinyl cutter you’ll use once |
| 50-100+ signs | A factory production line | Setup and tooling costs get spread across volume, and you gain consistency across every location |
What You Need Before You Start
You don’t need a workshop to make a basic sign, but you do need the right handful of tools and a realistic material choice for where the sign is going.
Hand tools
| Tool | What It’s For |
|---|---|
| Utility knife | Cutting foam board, acrylic scoring, and vinyl trimming |
| Metal straightedge or T-square | Keeping cuts straight, since a wandering line ruins a sign fast |
| Self-healing cutting mat | Protects your work surface and keeps blade depth consistent |
| Squeegee | Applying vinyl lettering or printed film without trapping air bubbles |
| Transfer tape | Lifting cut vinyl letters as one piece to apply them |
Materials
| Material | Best For | Watch Out For |
|---|---|---|
| PVC foam board | Indoor signs, temporary displays, budget projects | Warps and yellows outdoors within about six months, even in mild climates |
| Acrylic sheet | Indoor signs that need to look permanent, or short-term outdoor use | Edges can chip if you cut it without proper support underneath |
| Aluminum composite sheet | Outdoor signs, real estate signs, anything left in weather | Needs a router or fine-tooth blade, not a utility knife, for clean cuts |
| Adhesive vinyl film | Lettering and graphics applied to any of the above | Cheap vinyl shrinks and lifts at the edges within a year in direct sun |
Budget a minimum of $30 to $50 for a first small indoor sign if you’re buying tools you don’t already own, on top of material cost. If you already have a knife, straightedge and cutting mat, material alone for a small sign runs $15 to $40 depending on what you pick.
Step 1: Decide Size, Material and Mounting Location
Figure out where the sign is actually going before you pick a material, because location decides almost everything else.
An indoor wall or window sign gives you the most material freedom, since you’re not fighting UV exposure or rain. A storefront door header still counts as semi-outdoor if it faces direct sun through glass, and heat buildup behind glass can warp foam board almost as fast as leaving it outside. A pole-mounted or fully outdoor sign needs a weather-rated material and a real look at wind load if the sign is any size at all, which is exactly where most DIY attempts fail: outdoor signage needs a genuine waterproofing and weatherproofing plan, not just a material swap.
For sizing, work backward from viewing distance rather than guessing a size that looks right on your screen. As a rough starting rule, letter height in inches should run about one inch for every 10 feet of viewing distance you need to cover, though your exact numbers depend on font weight and background contrast.
If your sign is going on a leased storefront, mall unit, or business park building, check your property’s sign criteria before you finalize a size or design. Landlords and property managers commonly restrict specific sign types outright, and a sign built to the wrong spec means starting over.
Step 2: Design the Sign
You have three real paths here, and they lead to noticeably different results.
An online design tool gets you from idea to a printable file fastest, but most free tools export a flat image file rather than the vector artwork a manufacturer needs for cutting dimensional letters or laser work.
Hand-drawing your design works if your sign is simple text and shapes — you’ll still need to trace it into vector format afterward for anything beyond basic printing.
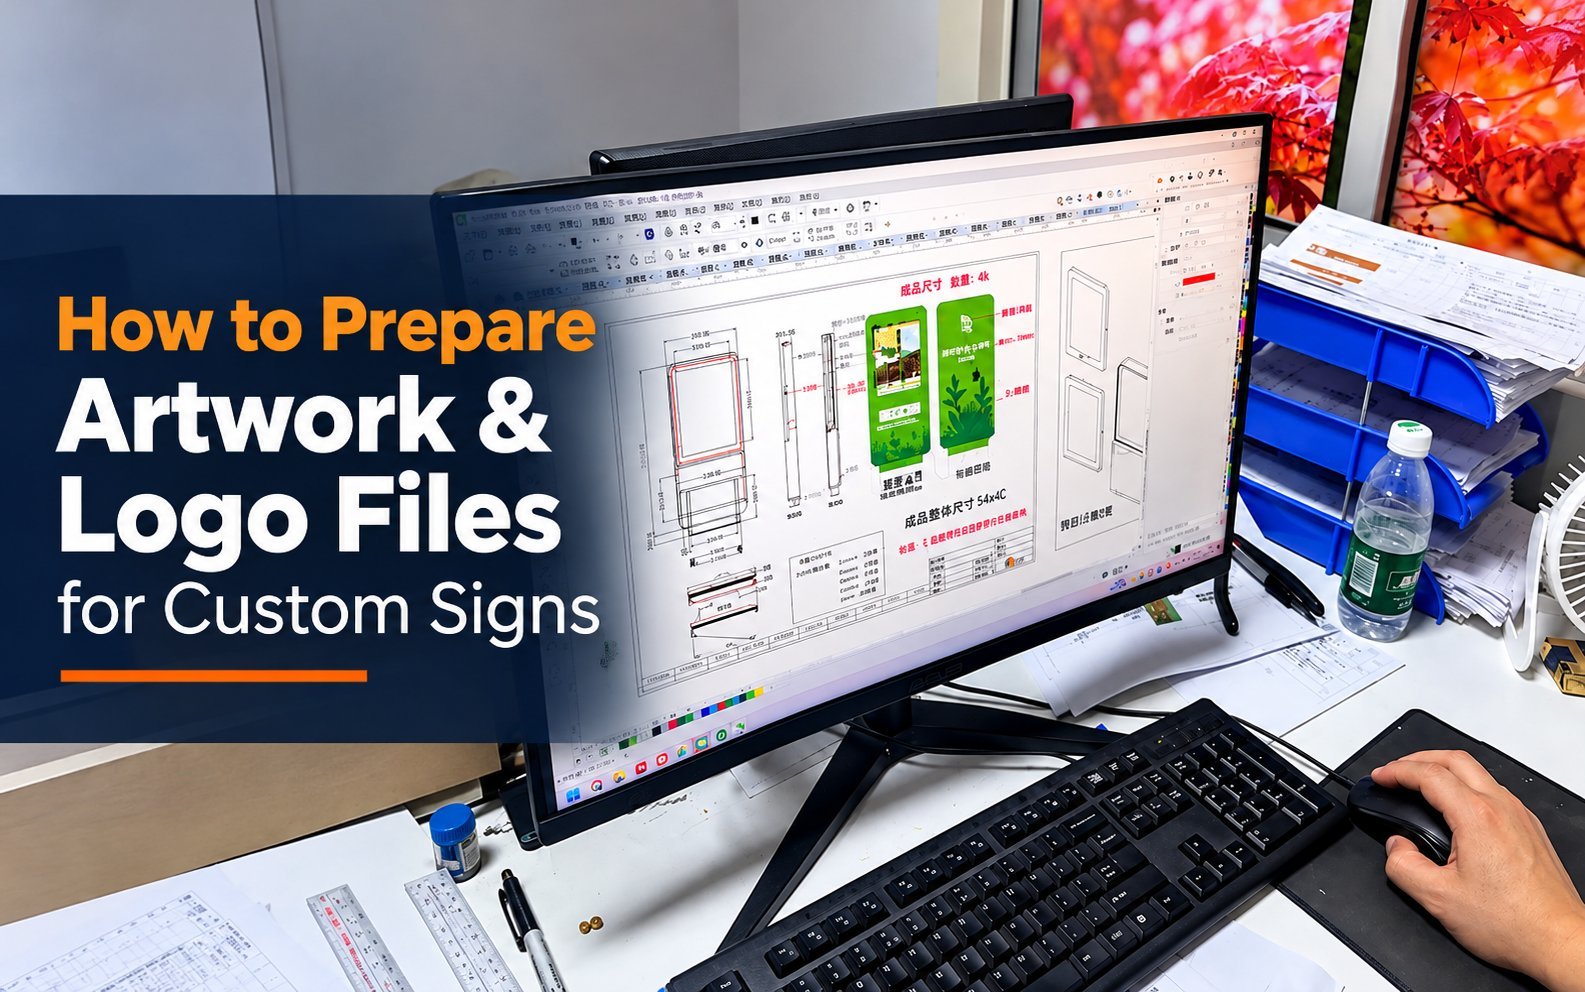
Hiring a designer for vector source files is the route that scales, and it’s the first real fork between a weekend DIY project and a project a sign shop or chain can actually reproduce consistently. This is worth flagging directly: if you plan to send a design to any manufacturer for cutting, engraving, or channel letter fabrication, they need a vector file (AI, EPS, or vector PDF), not a JPEG or PNG. A factory can’t cut clean edges from a raster image, and asking them to trace your logo adds cost and time you can avoid by starting with the right file format.
Step 3: Cut, Print or Engrave
This is where your material and your equipment either agree with each other or don’t.
| Method | Best For | Typical Quantity | Home-Feasible? |
|---|---|---|---|
| Vinyl cut lettering | Text and simple logos on any flat surface | 1-20 pieces | Yes, with a basic vinyl cutter or hand-cut vinyl |
| UV/digital printing | Full-color graphics, photos, gradients | 1-50 pieces | No, needs a UV or large-format printer |
| Laser engraving/cutting | Precise edges, acrylic, wood, detailed shapes | 1-100+ pieces | Only with access to a laser cutter, rare in a home shop |
| CNC routing | Dimensional letters, metal, thick material | 10-1,000+ pieces | No, this is factory-line equipment |
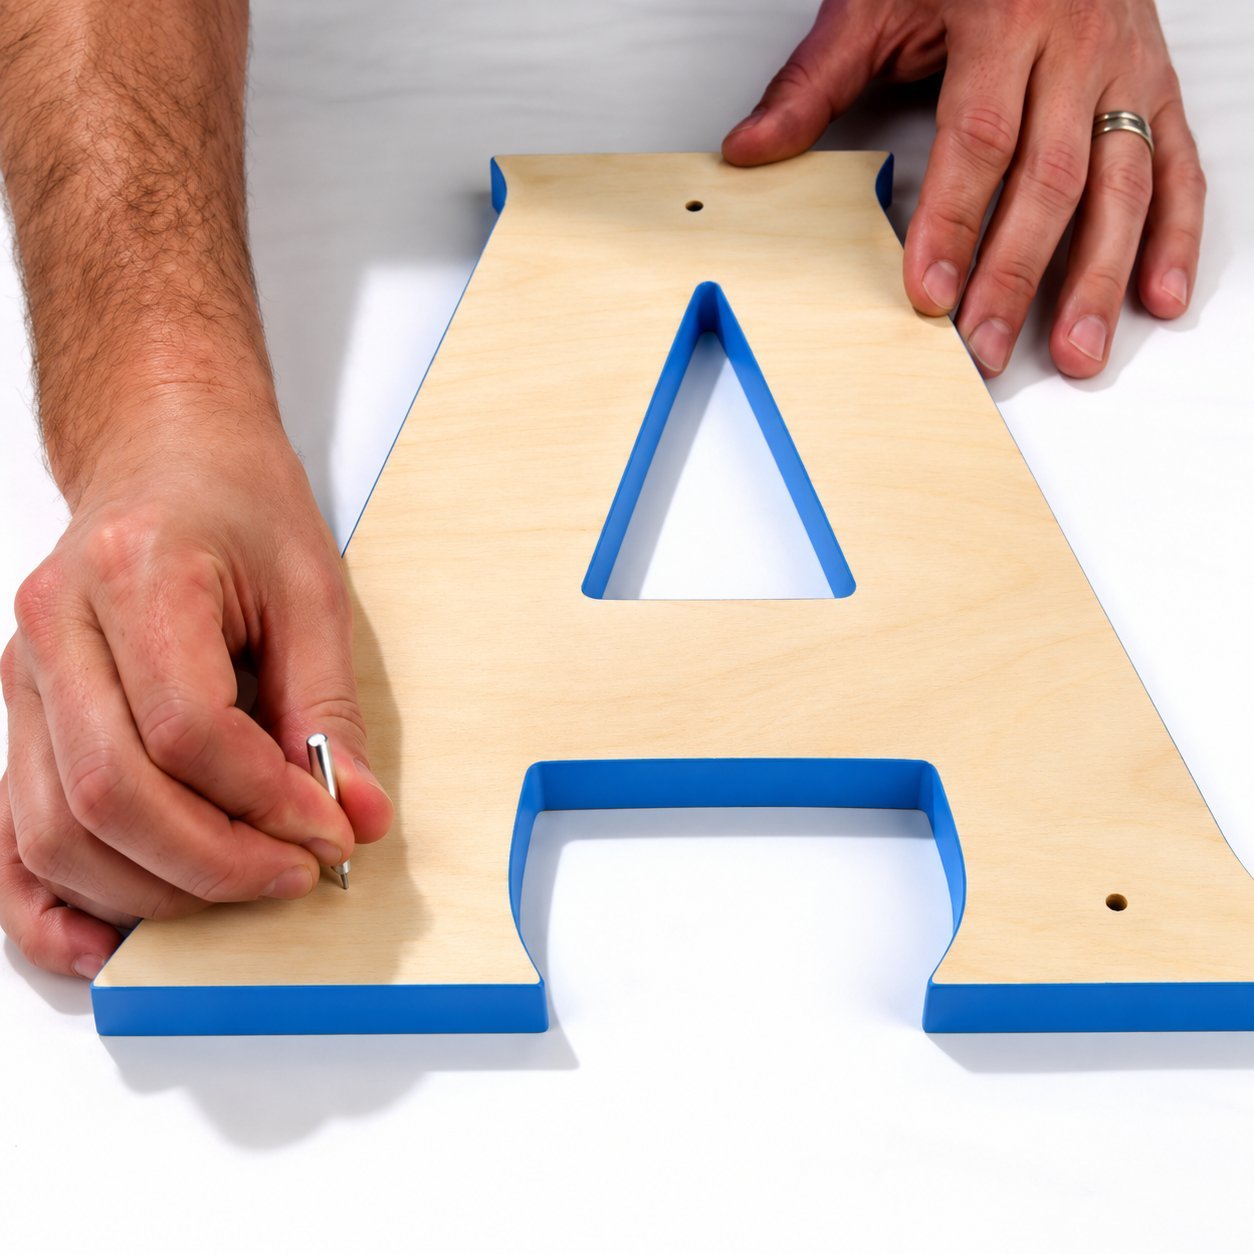
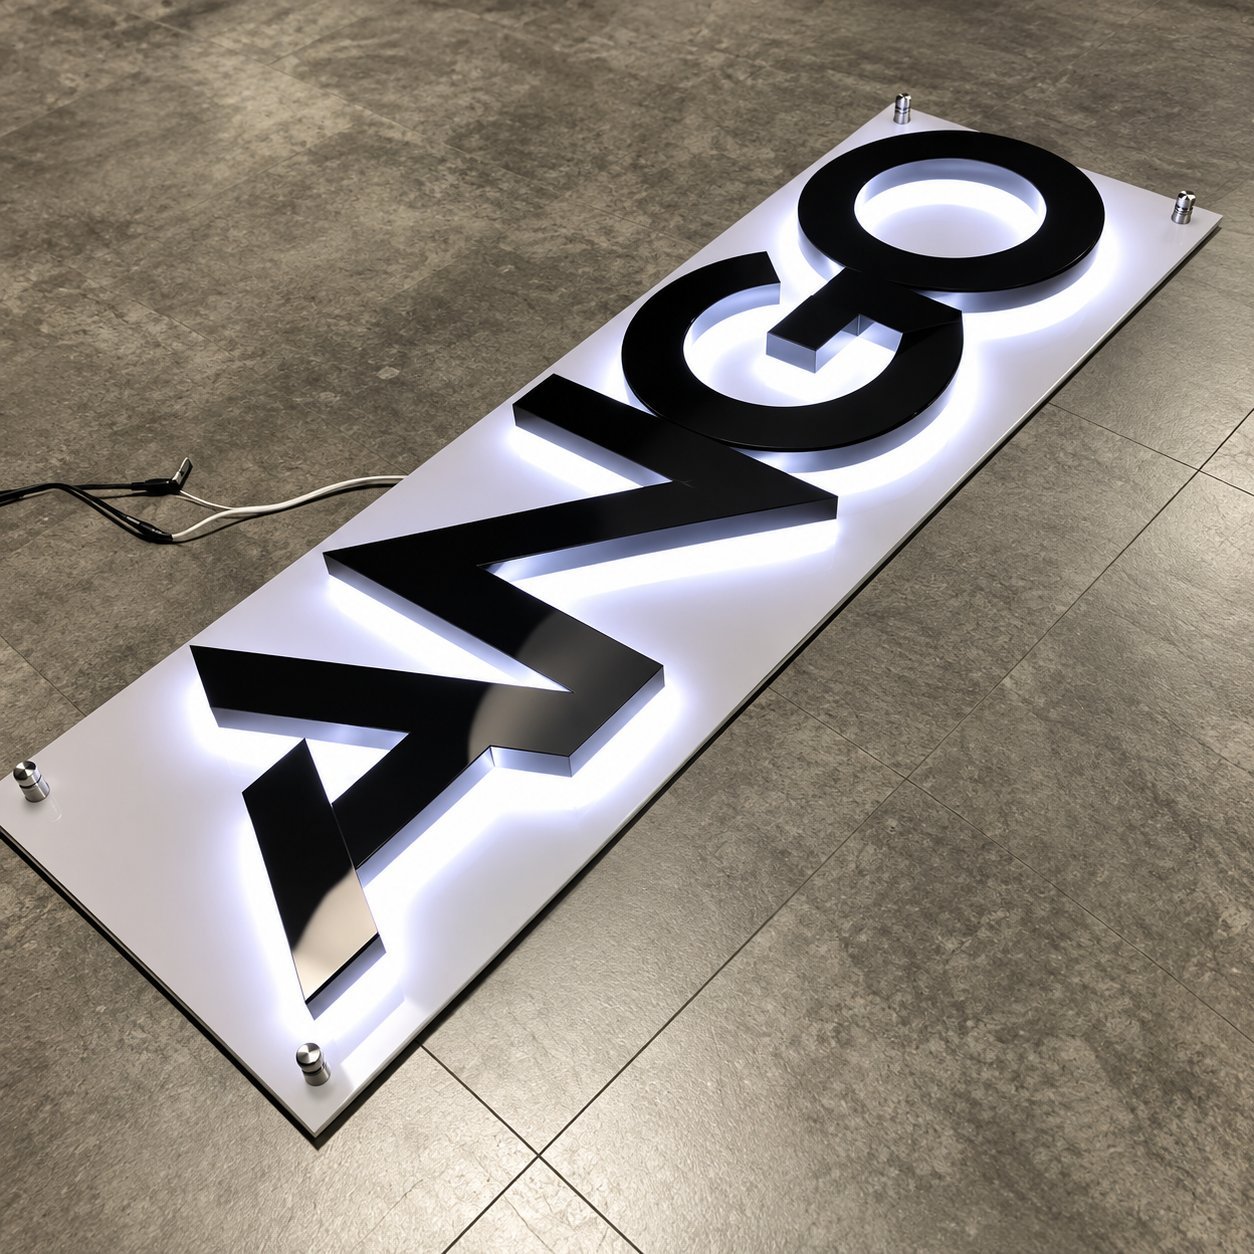
Be honest about where hand tools stop working. A utility knife leaves visible waviness on curves that a laser or CNC machine cuts clean. Color matching between your printer and a factory’s calibrated equipment will be visibly different if you ever need to reorder and colors have to match. And there’s a hard ceiling here: you cannot build genuinely dimensional channel letters or an illuminated sign face with hand tools, full stop, since that requires forming metal returns, wiring LED modules, and sealing the assembly for weather resistance.
Here’s the part that matters if you’re a sign shop or a chain’s marketing department reading this instead of a solo small business owner: laser cutting and CNC routing both carry real fixture and setup cost per job, and that cost gets divided across however many pieces you’re running. At 1 piece, you’re paying for the whole setup yourself. At 100 pieces, that same setup cost might add pennies per unit. This is the exact point where sending work to a production line stops being about capability and starts being about math, which Section 6 breaks down directly.
Step 4: Mounting and Installation
How you mount a sign depends entirely on what it’s going onto, and guessing wrong here is how signs end up crooked, loose, or pulled straight off the wall.
| Wall Type | Mounting Approach | Weight Consideration |
|---|---|---|
| Brick or block | Masonry anchors and screws | Handles heavy signs well once anchors are set correctly |
| Drywall/gypsum board | Toggle bolts or anchors rated for the sign’s actual weight | Standard drywall anchors fail fast on anything over a few pounds |
| Glass or window | Suction mounts or adhesive standoffs for light signs only | Not rated for anything beyond a small, lightweight piece |
| Metal or ACM cladding | Self-tapping screws or structural adhesive rated for the substrate | Check the cladding’s backing before drilling, since some panels are hollow |
If your sign includes any lighting, stop and bring in a licensed electrician for the wiring connection. This isn’t a place to improvise: exposed or improperly grounded connections on an illuminated sign are a fire and shock hazard, and most jurisdictions require licensed electrical work and a permit for any permanently wired sign regardless of size. Confirm your local electrical code requirements before you connect anything to power, not after it’s mounted.
Real installation = substrate-matched mounting
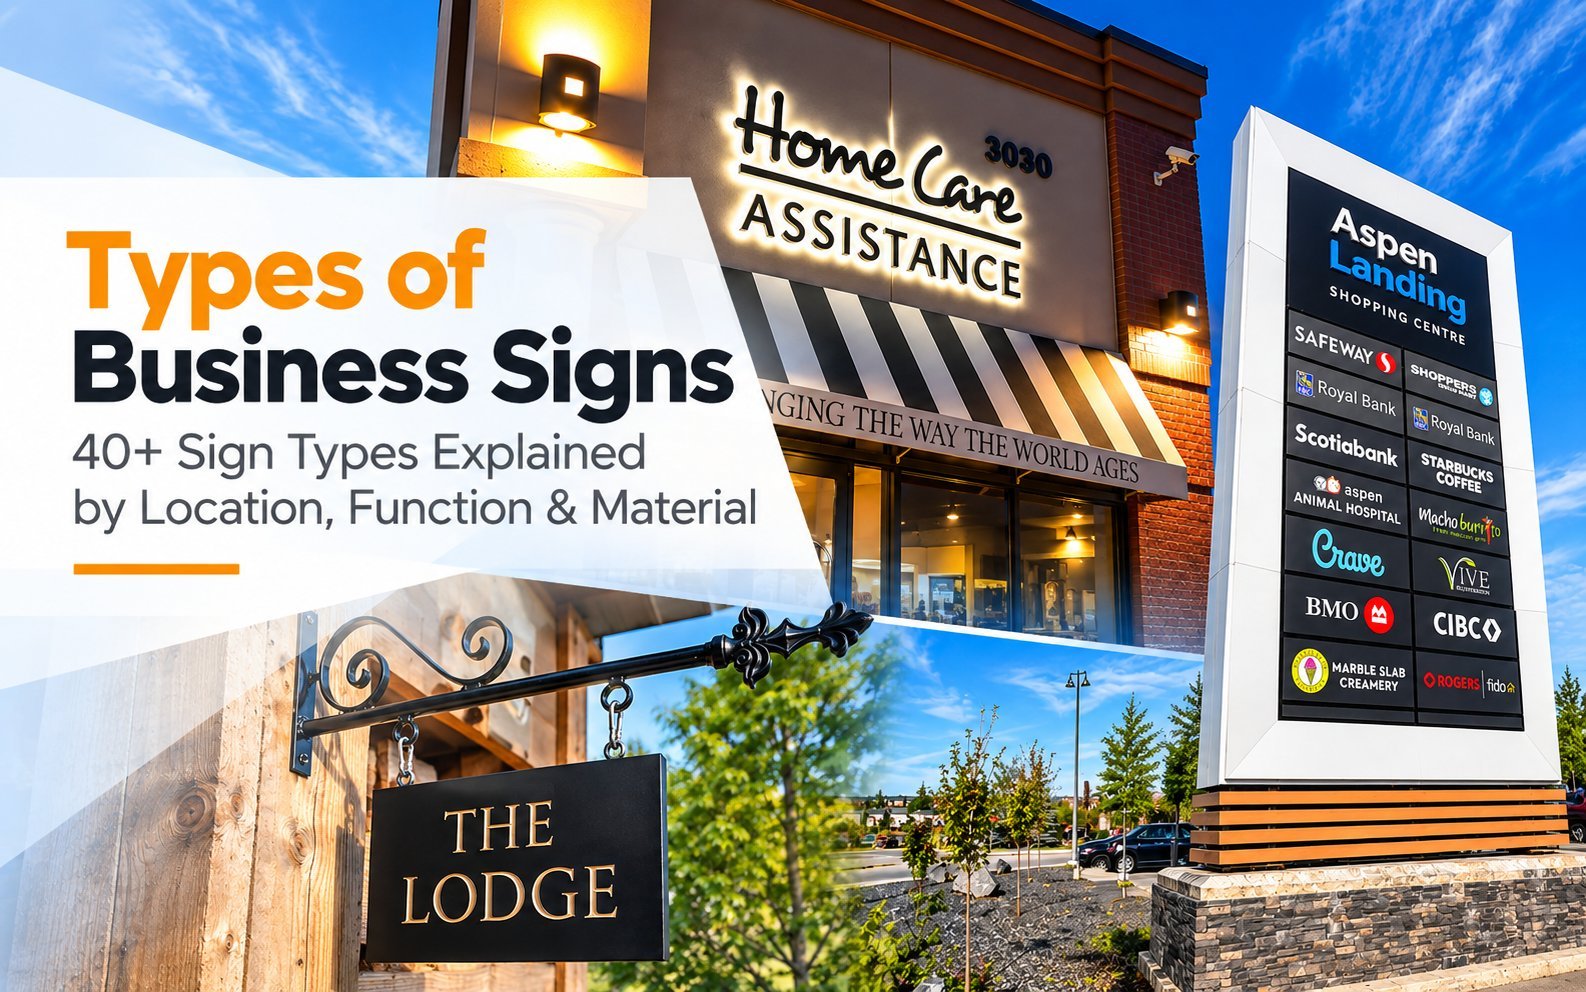
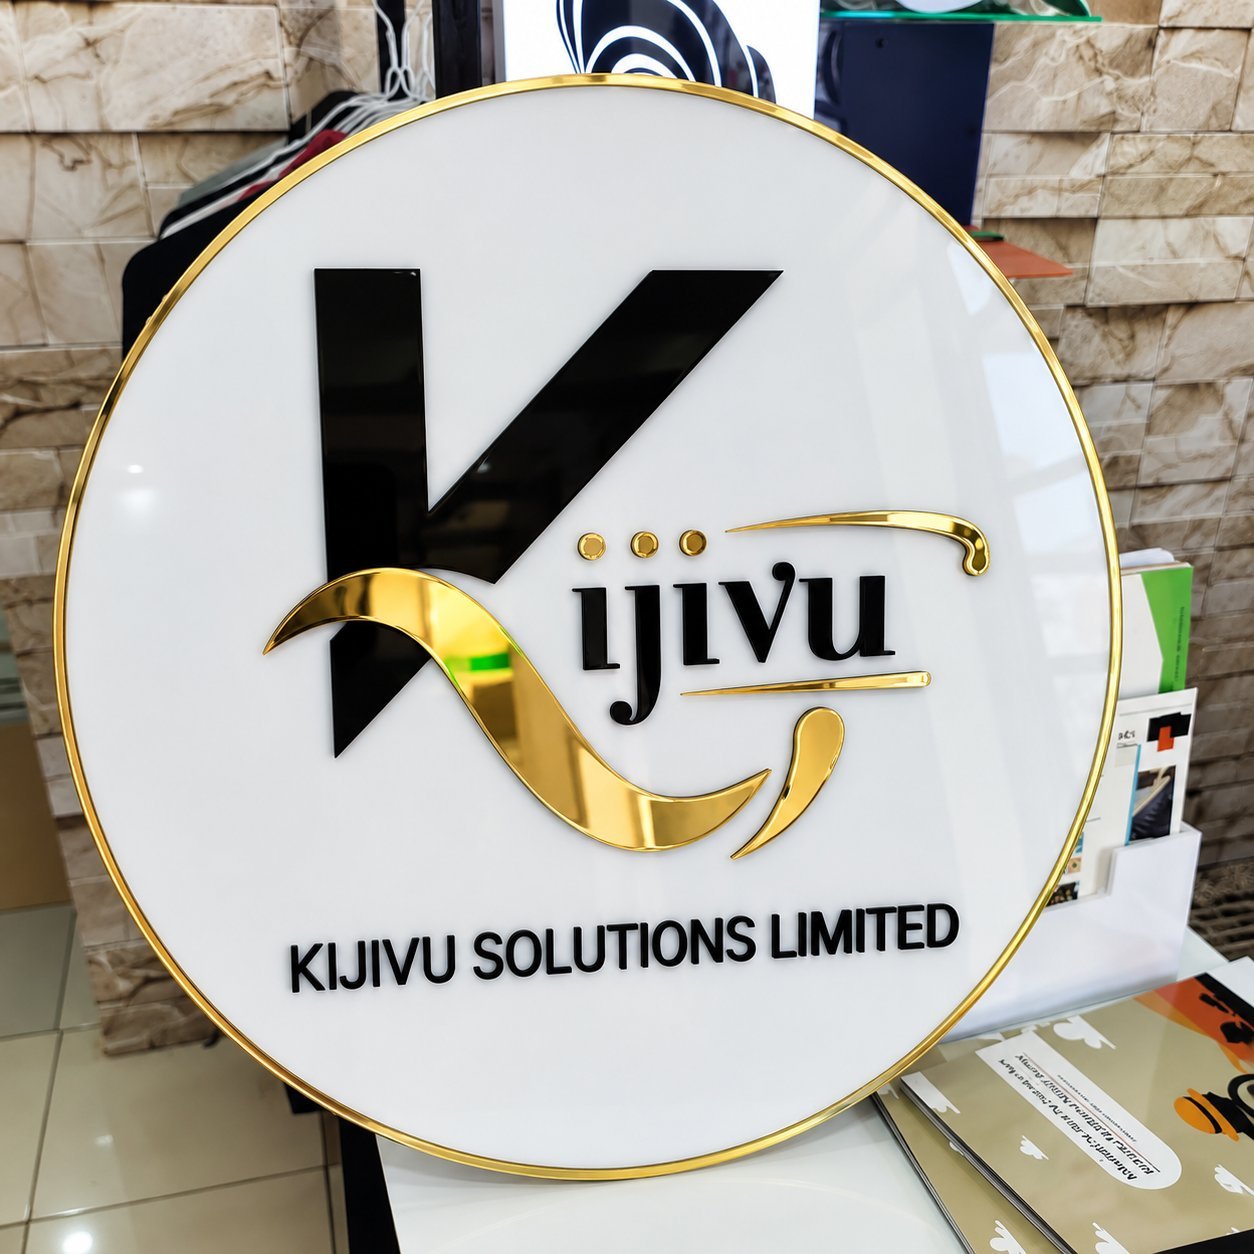
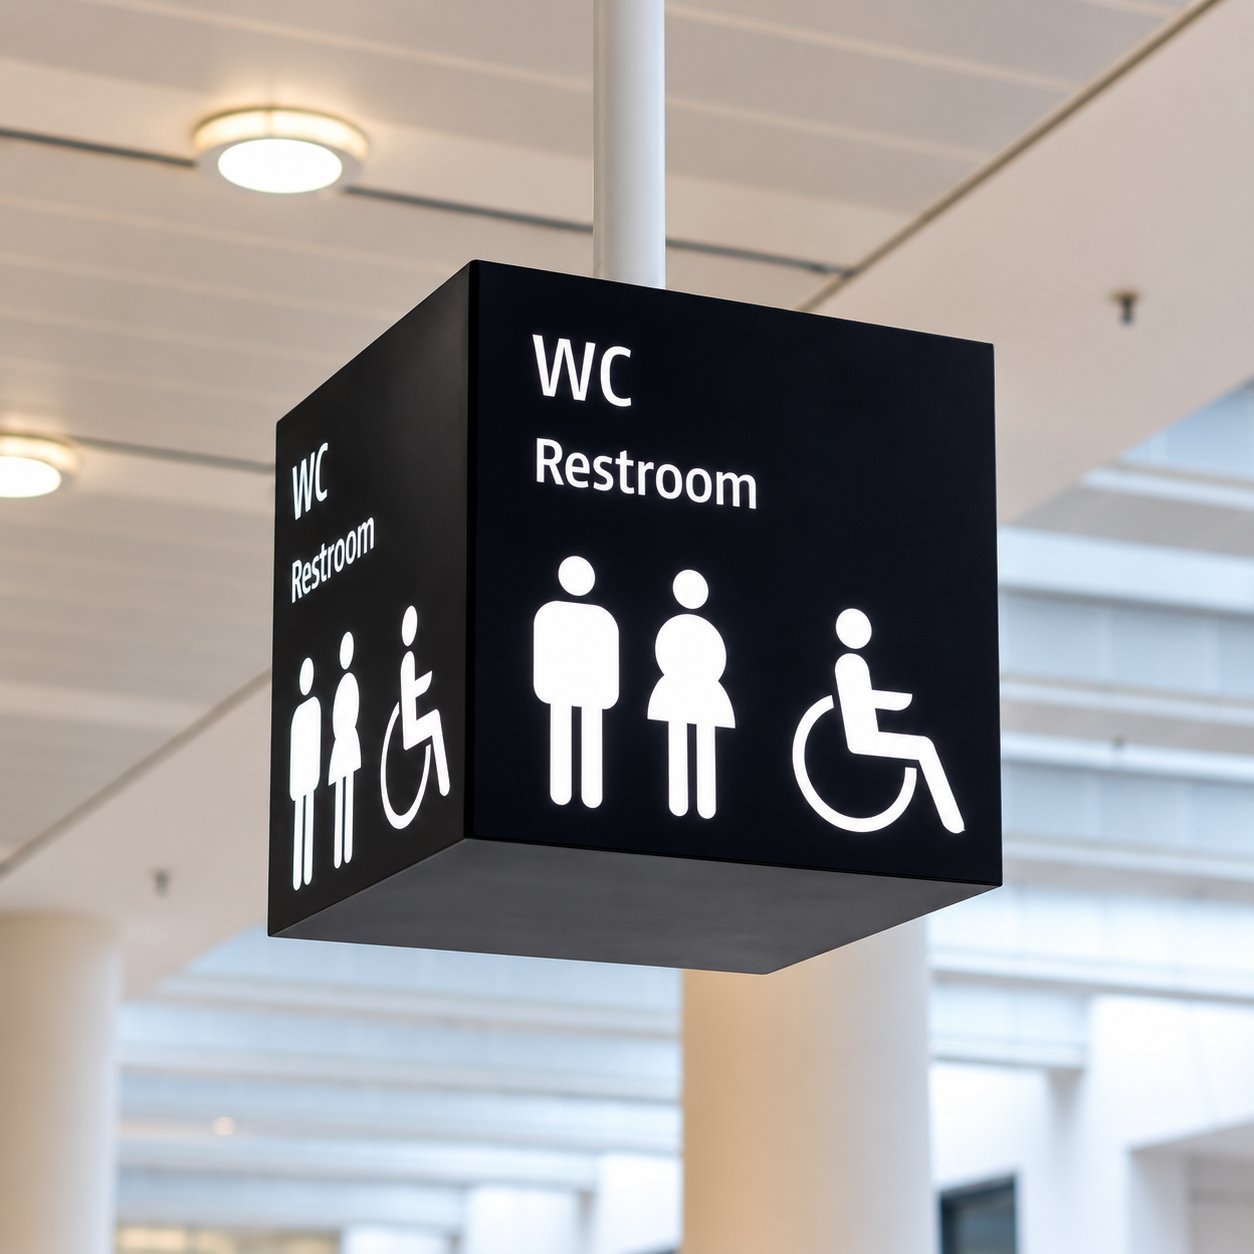
A bathroom wayfinding sign, a wall-mounted lightbox, and an outdoor pylon each have completely different mounting requirements, and what holds one up cleanly can let another fall off the wall within a season.
For heavier or illuminated signs, the substrate also has to support the wiring route back to a power source — that’s a planning step that has to happen before the sign is fabricated, not after.
DIY vs Professional Production: What It Actually Costs
Numbers below are general planning ranges to help you compare structure, not a quote. For your project’s actual pricing, factory-line signage cost depends on several specific factors that a written quote accounts for directly.
| Cost Factor | 1 Sign (DIY) | 10 Signs (DIY) | 100 Signs (Factory Line) |
|---|---|---|---|
| Material | $15-40 | $150-400 | Bulk pricing, materials sourced at volume |
| Labor (your time) | 2-4 hours | 20-40 hours | Factory labor, not yours |
| Tooling/setup cost | Minimal, hand tools only | Moderate if you buy a cutter | Spread across 100 units, so per-unit cost drops sharply |
| Rework rate | Depends on your skill, often higher on first attempts | Compounds across each piece if a step is off | Low, since production is quality-checked at each stage |
| Time cost to completion | Same day to a few days | 1-2 weeks around other work | Days for sampling, then a set production lead time |
The honest takeaway: DIY wins clearly at 1 piece, since your time and a basic tool investment beat any factory minimum. At 10 pieces, it’s close, and depends heavily on whether you already own the right tools and how much your time is worth. At 100 pieces, a factory production line almost always wins, because tooling and setup costs that felt fine to absorb on one sign become the deciding factor once they’re multiplied by your own labor hours 100 times over. Comparing raw material options side by side is worth doing before you commit to a route either way.
When DIY Stops Making Sense
Five situations where sending your design to a manufacturer is the right call, not a fallback:
- You need illumination. Channel letters, light boxes, and any LED-lit sign require wired LED modules, drivers, and weatherproof sealing that hand tools genuinely cannot produce. Review what actually determines LED quality before you assume a lit sign is a DIY upgrade rather than a different project entirely.
- Any single piece exceeds about 4 feet (1.2m). Beyond that size, material handling, structural rigidity, and mounting weight all move past what hand tools and a home workspace can manage safely.
- You need exact brand color consistency across locations. A chain rolling out signage to multiple stores needs Pantone-matched color and identical dimensions every time, which home printing and hand-cutting can’t guarantee piece to piece.
- Your sign has to pass a compliance or property review. If a landlord, property manager, or local code requires specific construction, illumination type, or materials, a factory that documents its process gives you something to submit for approval that a home-built sign generally can’t match.
- You’re ordering 50 or more. This is where per-unit factory pricing beats DIY on both cost and consistency, for the reasons covered in Section 6.
If any of these fit your project, the next step is simple: send your dimensions, material preference, and any artwork or hand sketch you have. For dimensional and illuminated letters, custom acrylic signage and custom metal letter signs are the two most common upgrade paths from a flat DIY sign, and every order goes through documented factory testing before it ships, so you’re not trading DIY uncertainty for a different kind of uncertainty.
Illumination is a factory project, every time
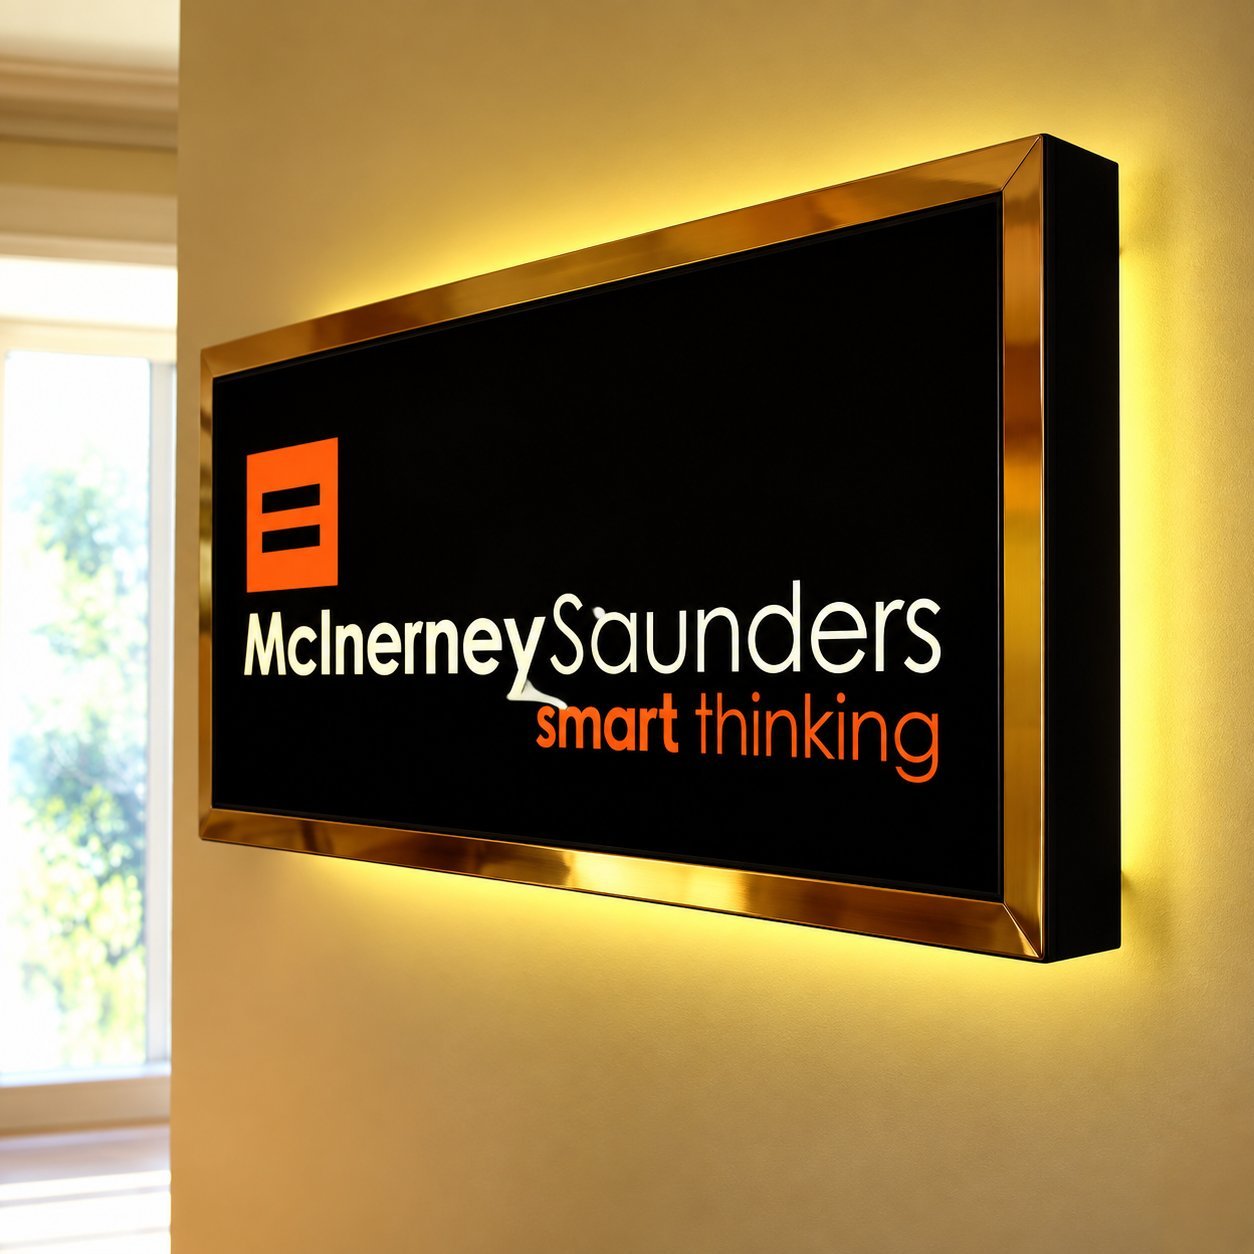
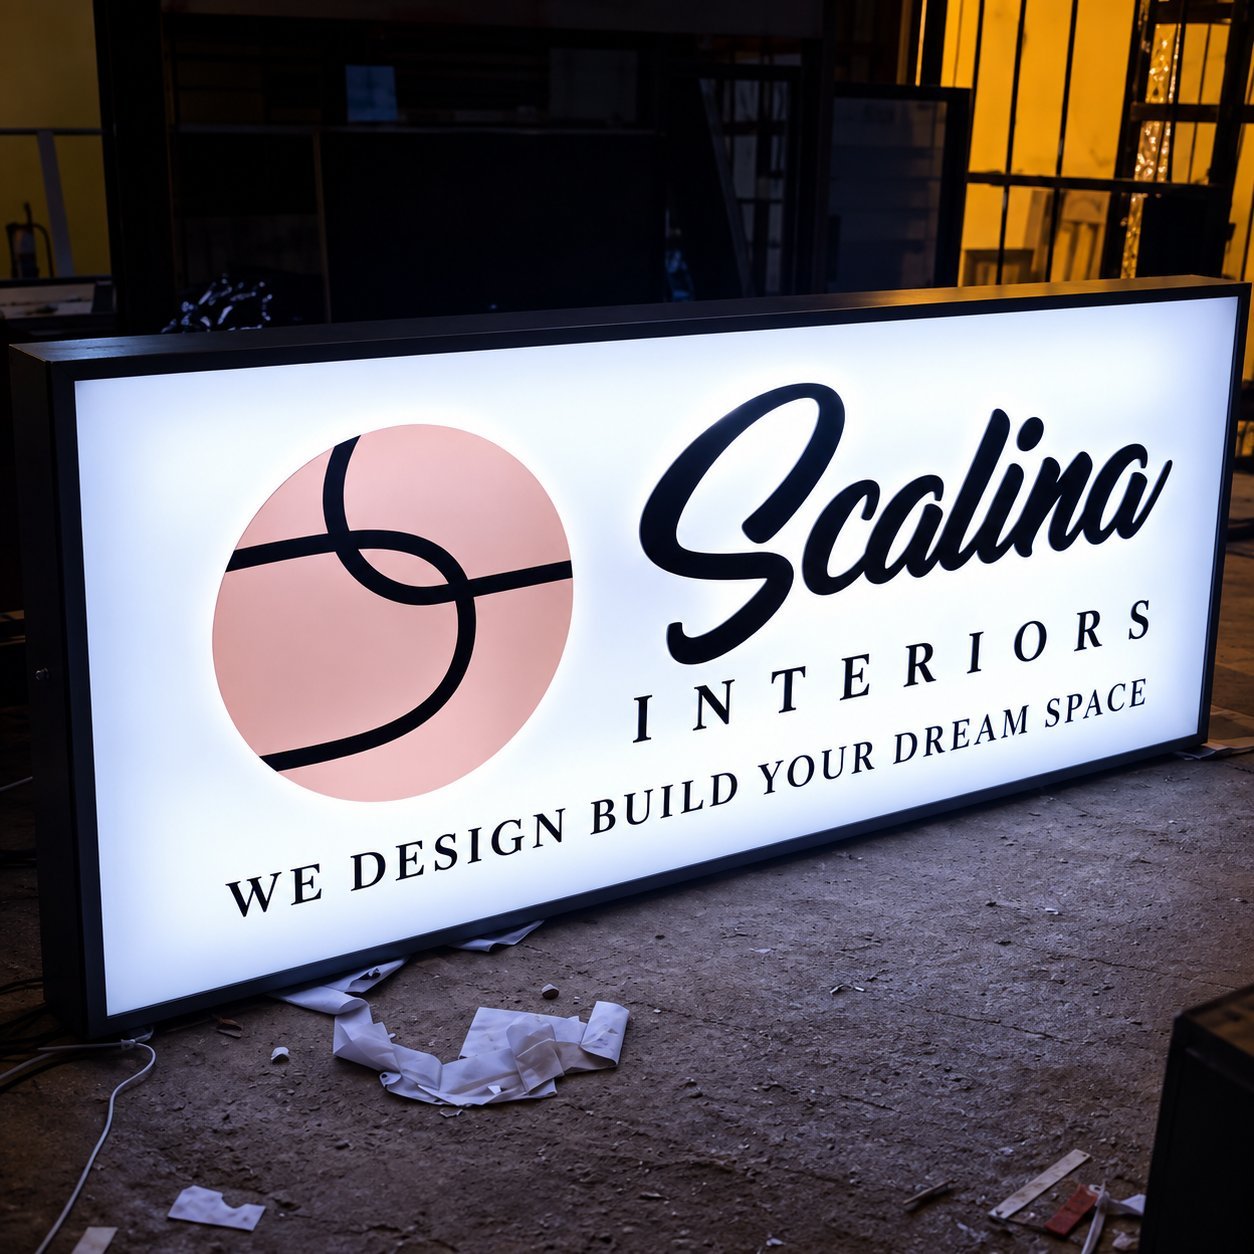
Backlit letters, lightboxes, and edge-lit signs require LED modules, drivers, wiring, and weatherproof sealing that can’t be produced with hand tools or a hobby laser cutter.
Lightbox signs also need a brightness target review and a consistent LED bin spec across all units to look identical across multiple locations.
FAQ
How do you make a sign from scratch?
Four steps: decide your size, material and mounting location, create or source your artwork, cut or print the design, then mount it. A simple indoor sign takes an afternoon start to finish. Add lighting, outdoor exposure, or multiple pieces, and each of those steps gets more involved.
How much does it cost to make a sign yourself?
A basic 12×24 inch indoor sign runs roughly $15 to $40 in material if you already own basic cutting tools, or $30 to $80 including a first-time tool purchase. Compare that to factory-line pricing once you’re past a handful of pieces, since per-unit cost drops as quantity goes up.
What is the cheapest material for a sign?
PVC foam board is the cheapest option and works well indoors, but it warps and yellows outdoors within about six months even in a mild climate. Acrylic costs more upfront but holds up far longer both indoors and in short-term outdoor use, which usually makes it the better value if the sign needs to last.
Can I make a sign without special tools?
Yes, for a basic flat sign. A utility knife, a straightedge, a cutting mat and some printed vinyl film cover most small indoor signs. What you can’t do without real equipment is dimensional lettering, illuminated signage, or anything that needs a perfectly clean curved edge.
How long does it take to make a sign?
A DIY sign takes anywhere from a few hours to a couple of days, mostly limited by your own schedule. A factory order typically starts with a sample or rendering, often turned around within a day or two, followed by a set production lead time once the design is approved, which runs longer for larger quantities but scales far better than DIY time does.
When should I order from a factory instead of making it myself?
When you need illumination, a piece larger than about 4 feet, exact color matching across multiple locations, compliance documentation for a landlord or code review, or a quantity of 50 or more. Below that, DIY is usually the faster and cheaper option.
Ready to move past DIY?
Send your artwork or a photo of your sketch along with your size and quantity, and get a straight answer on what it takes to produce it.
About the Manufacturer
This guide is written by the Hicen engineering team. Hicen (Guangdong Haichen Technology Co., Ltd.) has manufactured custom channel letters, light boxes, acrylic and metal signage since 2003 from a 20,000+ square meter factory in Dongguan, China. Production runs entirely in-house, from CNC cutting and laser engraving through LED assembly and a 48-hour power-on aging test on every finished unit before packing. Hicen holds CE and ISO 9001 certification, with RoHS, FCC and UL documentation available on request, and is a registered member of the International Sign Association. Full detail on our manufacturing process and certifications is available for review.
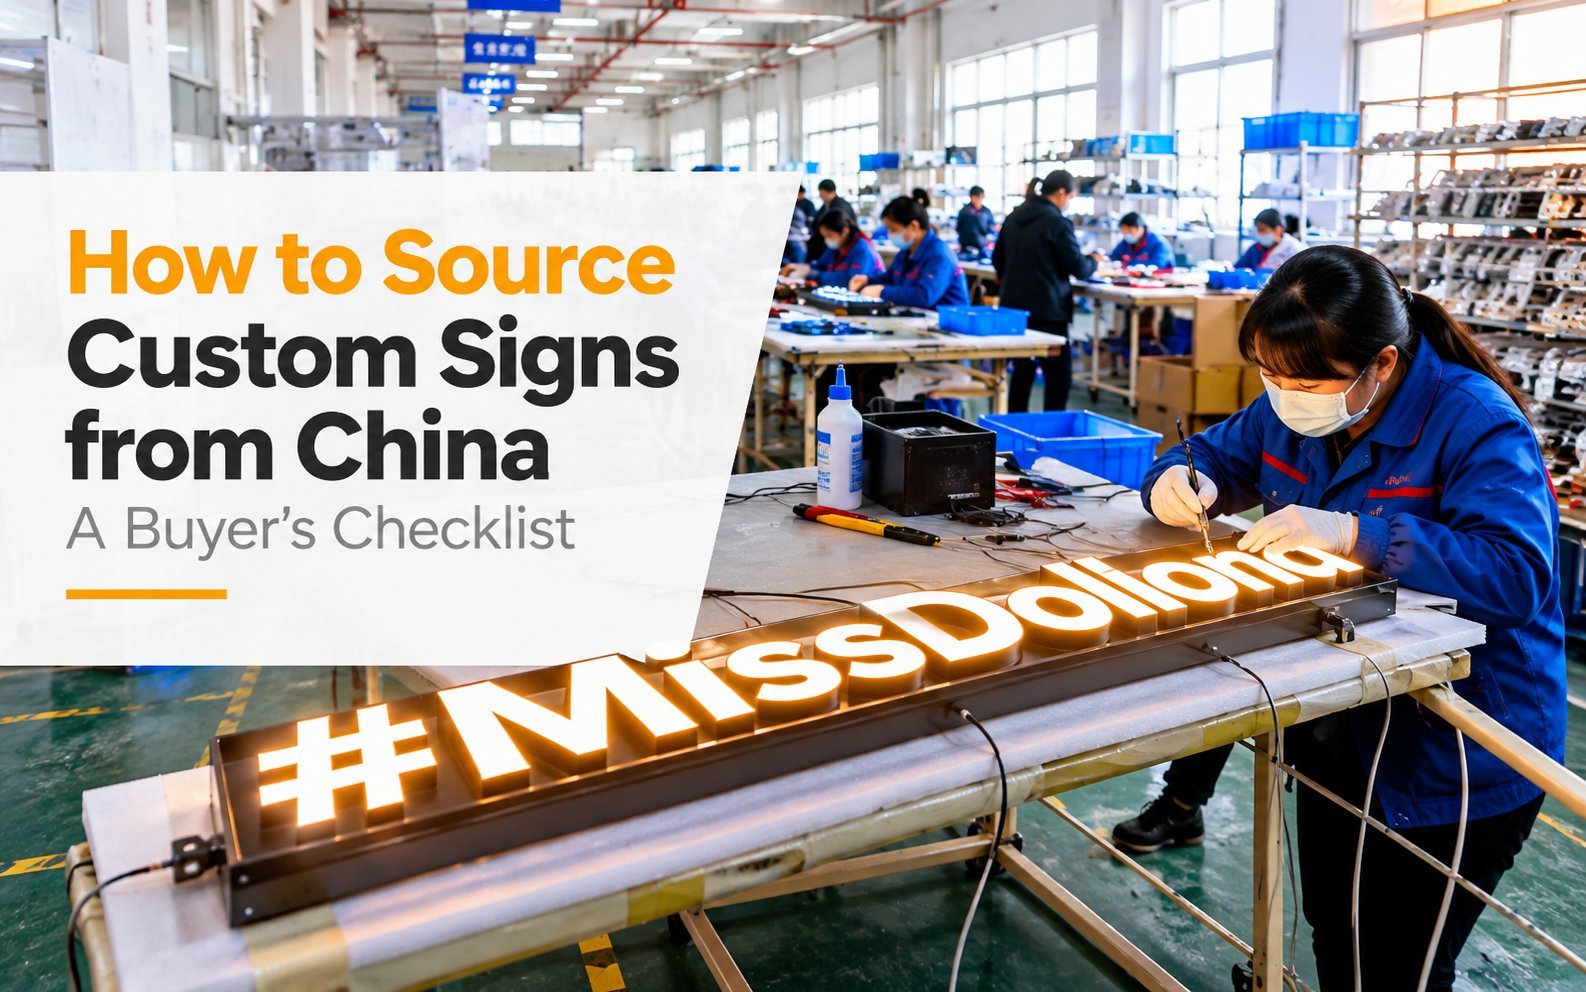
What factory production looks like end to end
Hicen’s 20,000+ sqm facility in Dongguan runs every step from file review and sampling to CNC cutting, laser engraving, LED assembly, and the 48-hour power-on aging test on every finished unit.
For a project starting with your artwork or sketch, that means one documented workflow from sample renderings through production to crating, not a hand-off between four different vendors.